Part 2: Perspective Sketches
Following on from the first session, myself and the group looked around the class and individually spoke to the students to see what they struggled with. They admittedly said they’re not confident with sketching as they were set with a task for homework but sadly only 2 completed the thumbnail sketches. They struggled most with thinking of new ideas and commonly replacing the pencil with a biro as they can’t conceal their mistakes.
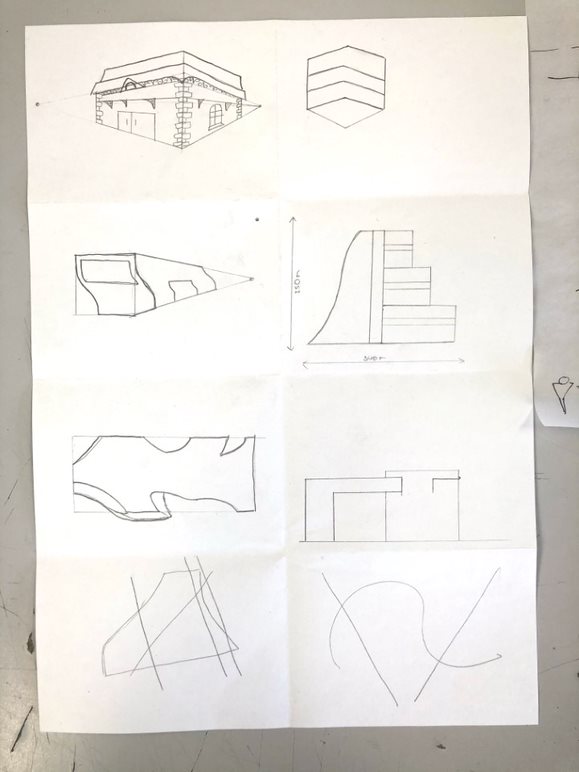
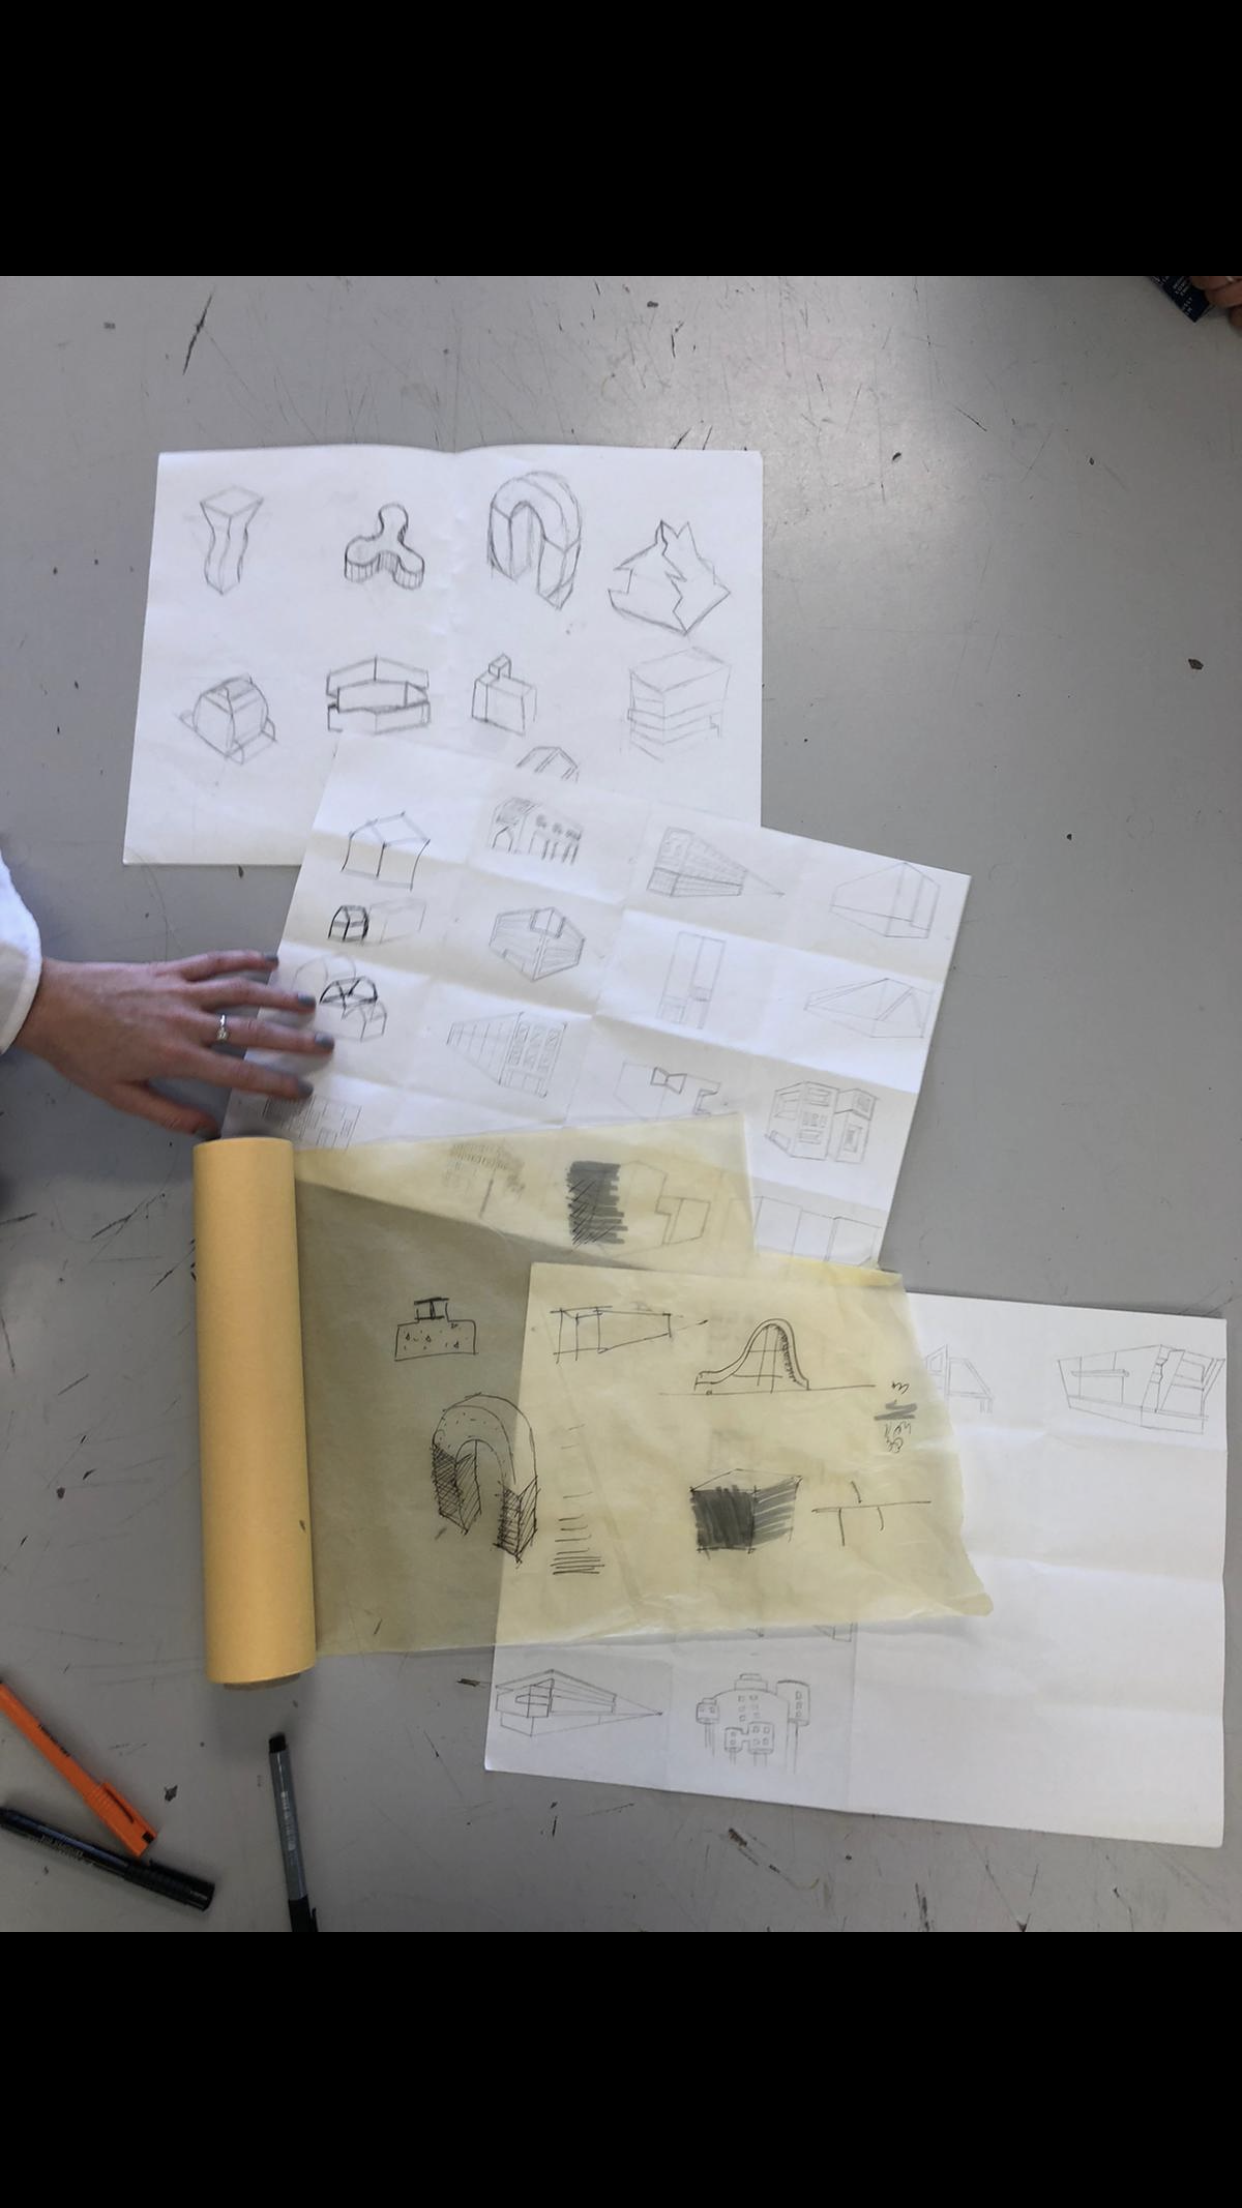
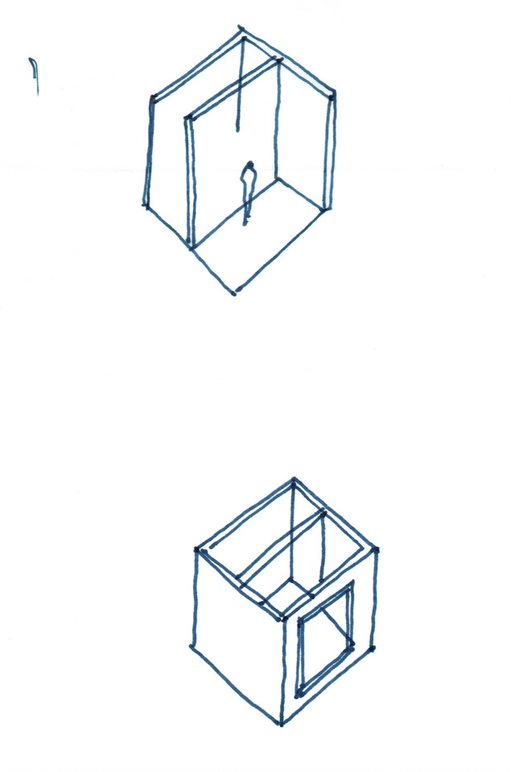

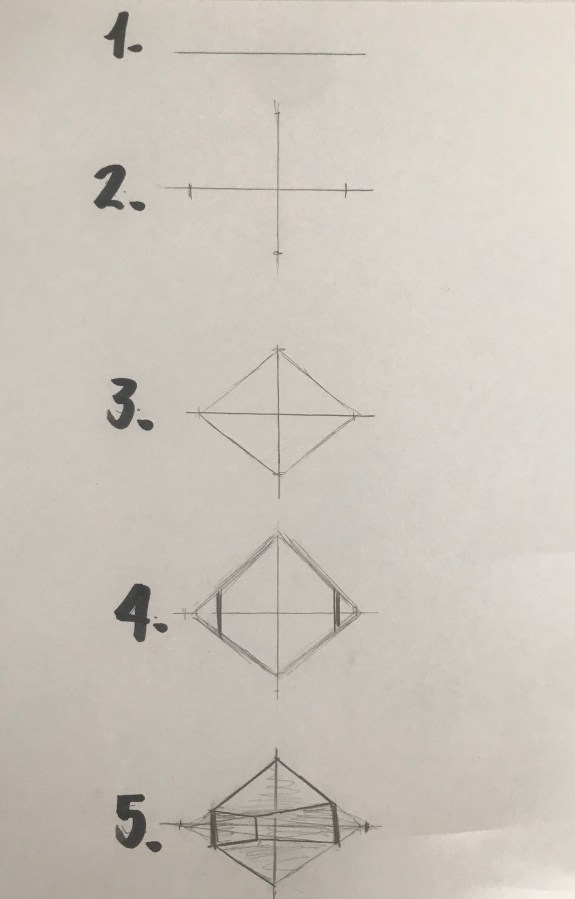
In the first instance we looked at the two students who had produced the 30 sketches and analysed what they did well and how myself and Emre could apply our techniques into their work. We introduced the ‘layering’ technique, where we used a roll of tissue paper and started tracing ontop of their original building sketch to build their confidence. By doing this we went along with the main outline first with a thick biro, adding more tracing paper as we went along for the finer detailing. I created a simplified step by step guide for creating a 2 point perspective sketch. This is an effective way to show spatial volume and the design intentions that the students entail to showcase to the client.
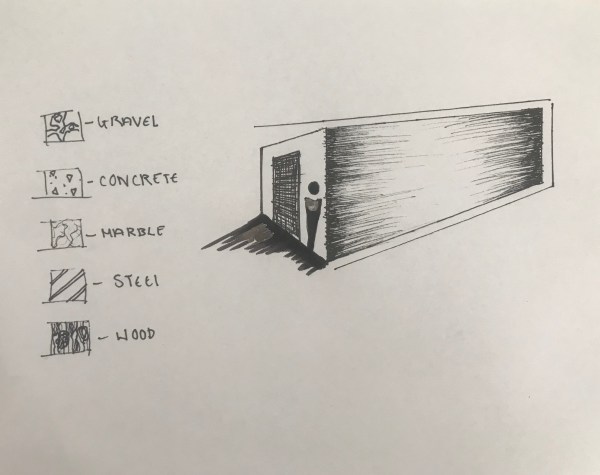
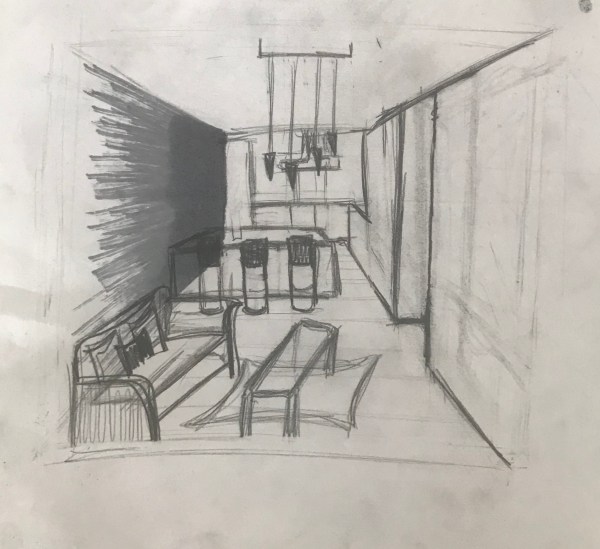
Looking at how the students simply used pencil, created a bland outcome which would limit their grade. Therefore, I introduced different etching types using a 0.3 thickness biro to create dimensional form for the outer shell of the sketching and how using different shades of the same colour can create the illusion of shade casting onto the ground Level. These basic principles were adapted immediately by the students as they could see a drastic difference in their sketches as we spoke to them individually.
Written by Wiktoria Glowczewska- BA Interior Architecture

You must be logged in to post a comment.