is an award-winning interdisciplinary design and research initiative within the Birmingham School of Architecture & Design. We create and co-produce projects that engage with the dynamic context of our city and explore the extremities of artistic disciplinary boundaries – all through an ongoing process of collaborative practice
Co.Lab The Shape of Touch – The Architecture of Handle
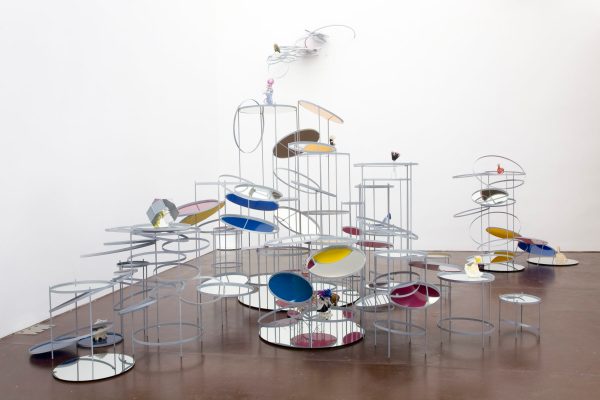
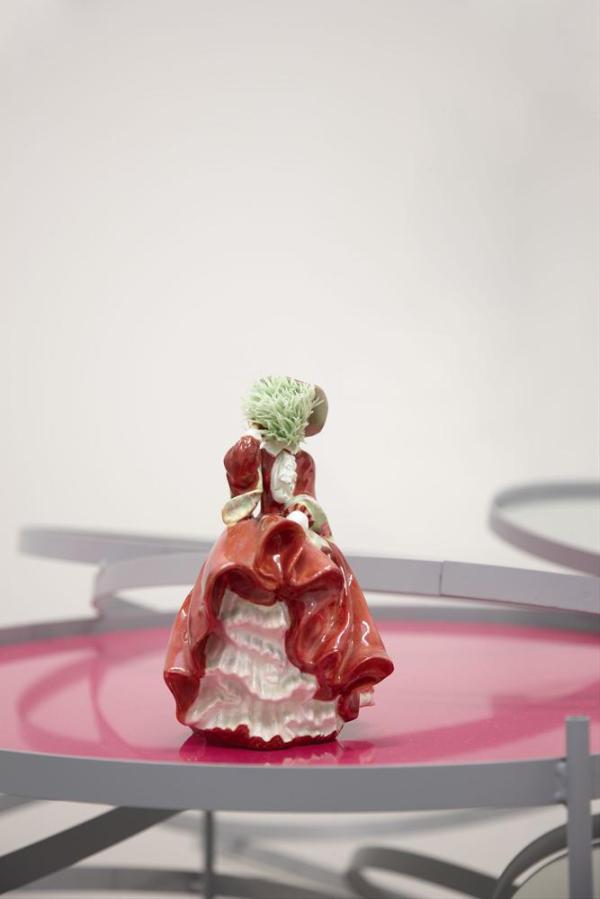
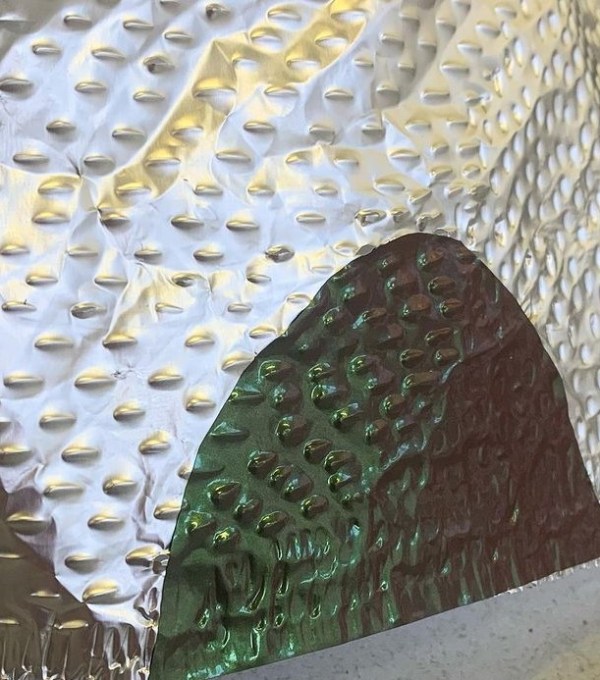
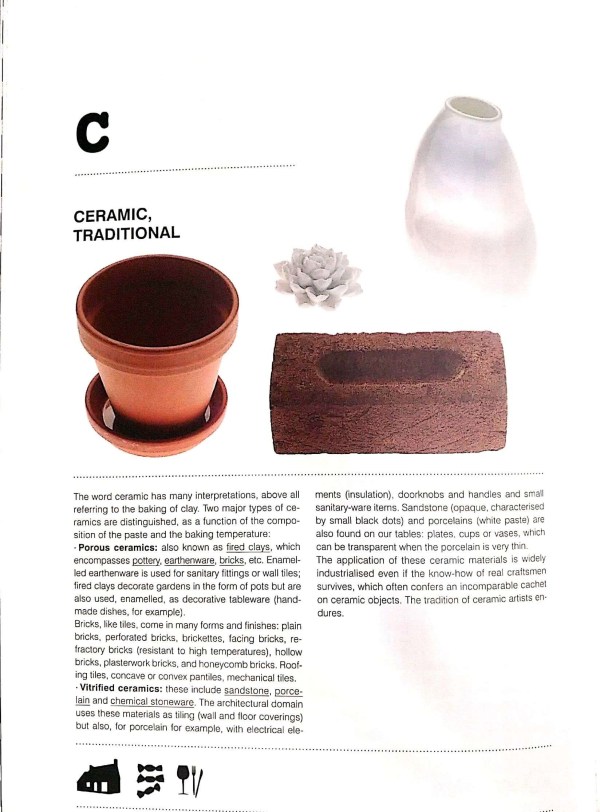
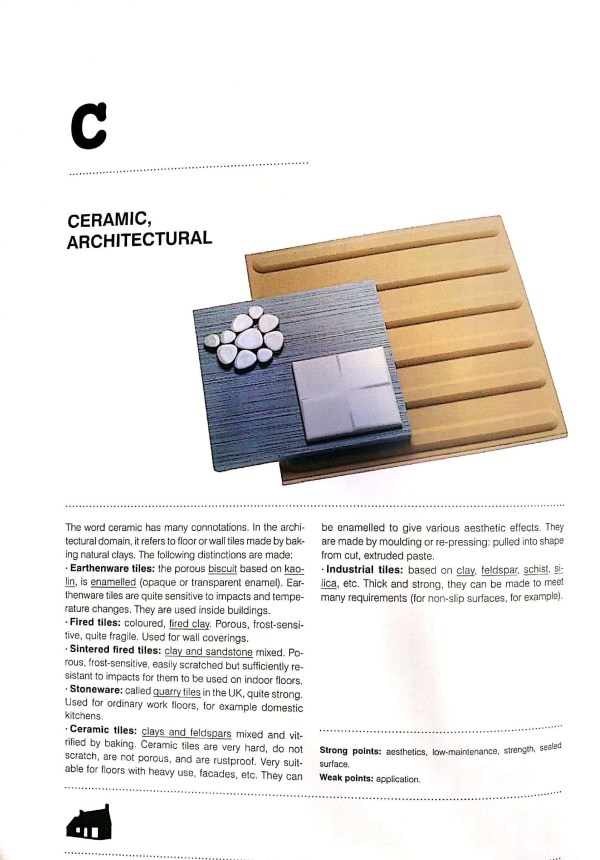
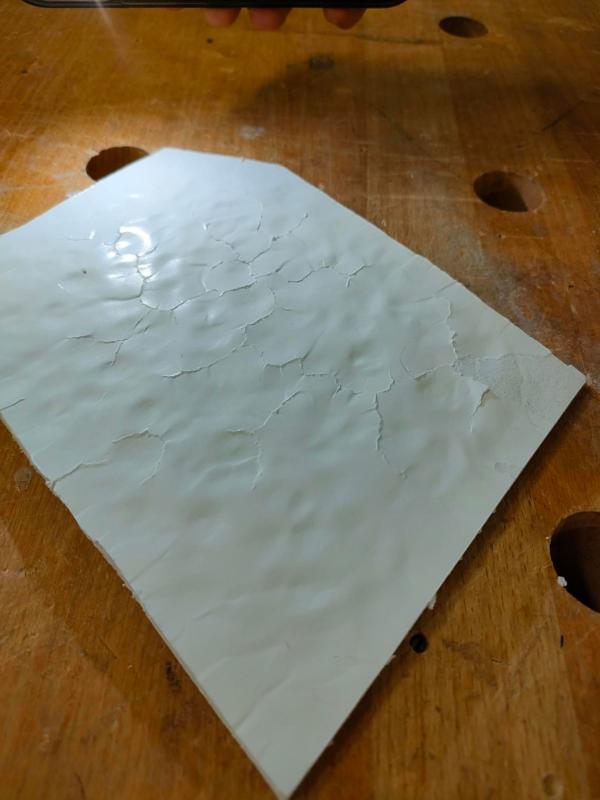
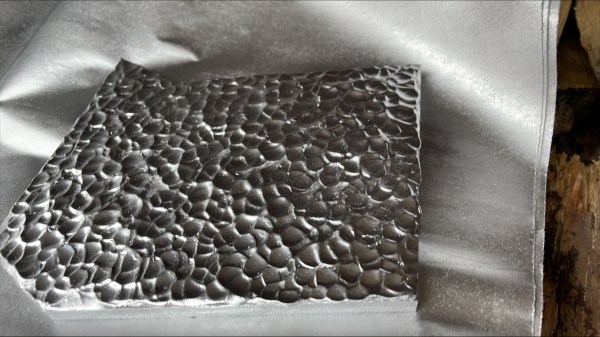
Ruth Claxton ‘LANDS END’Ruth Claxton ‘FOUND’ ceramic pieceZoom in to the surface of the artwork
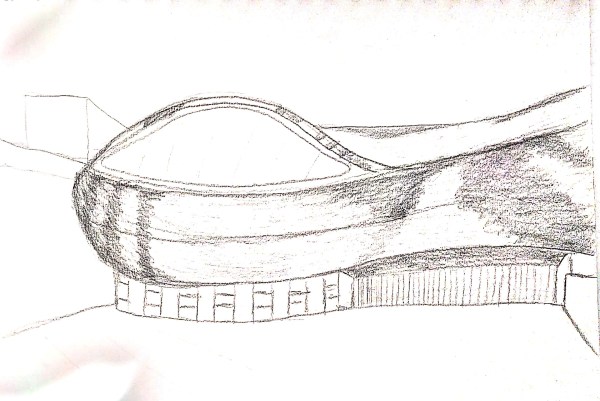
Sketches
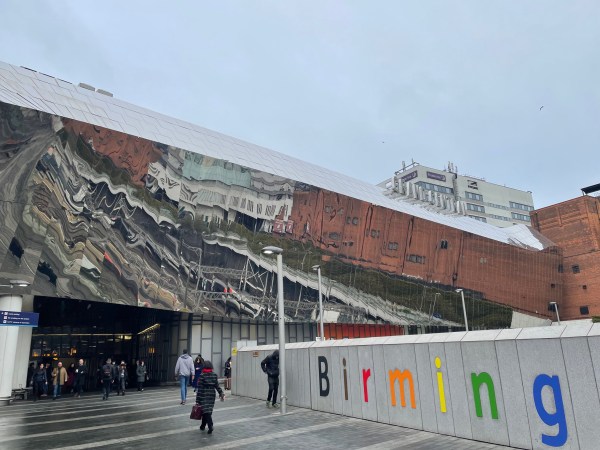
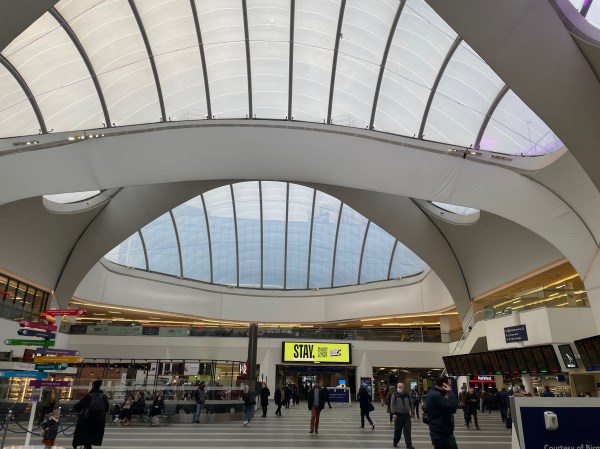
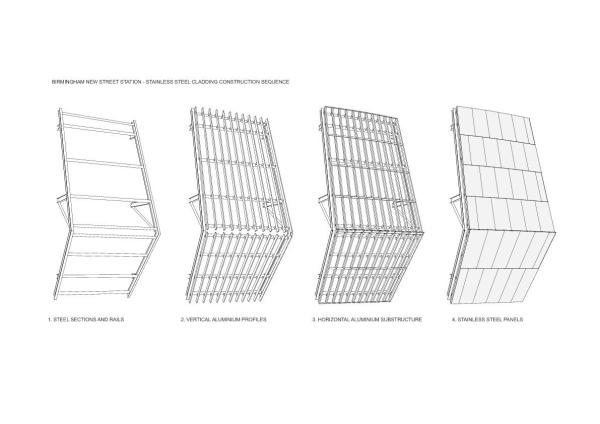
Birmingham new street station facade by Nokfabric roof top by Nok
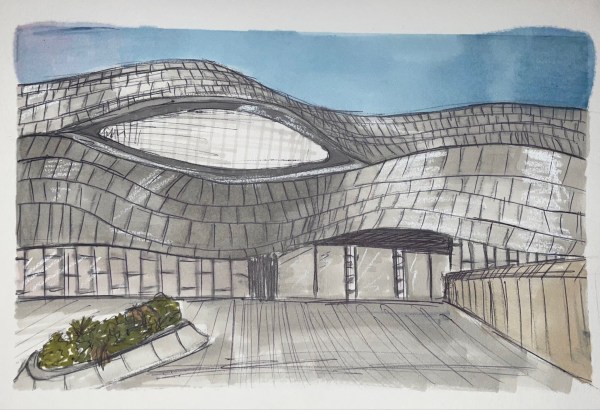
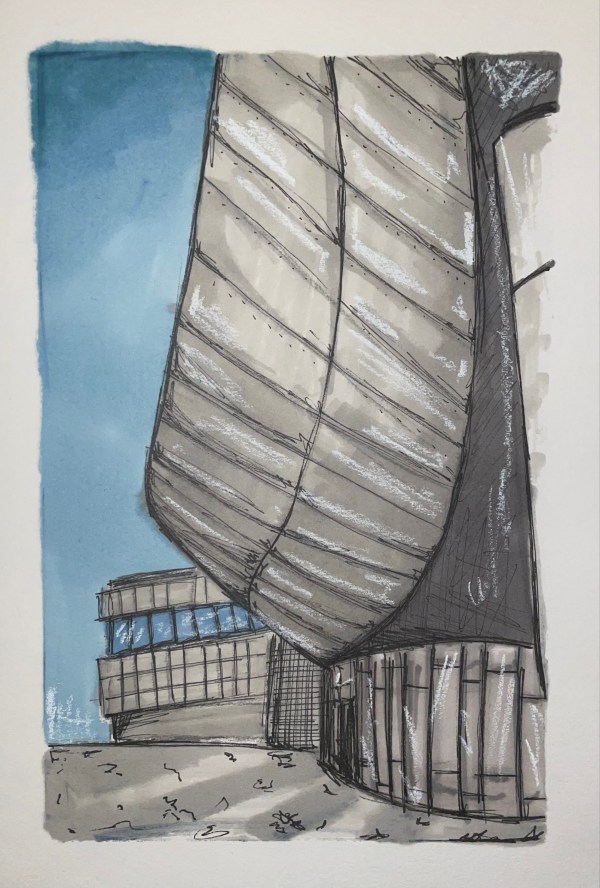
Visual drawings
by Aliceby Alice
Research
The detailed facade structure of the new street station
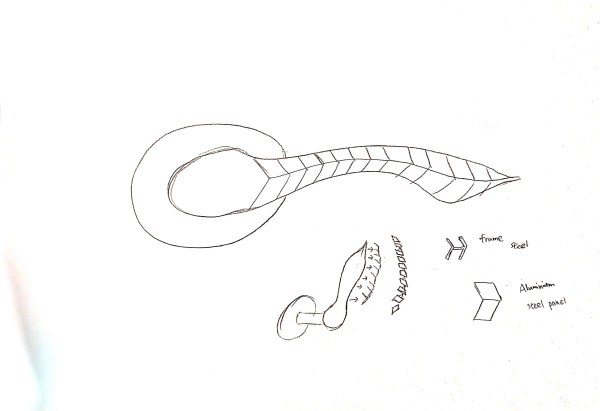
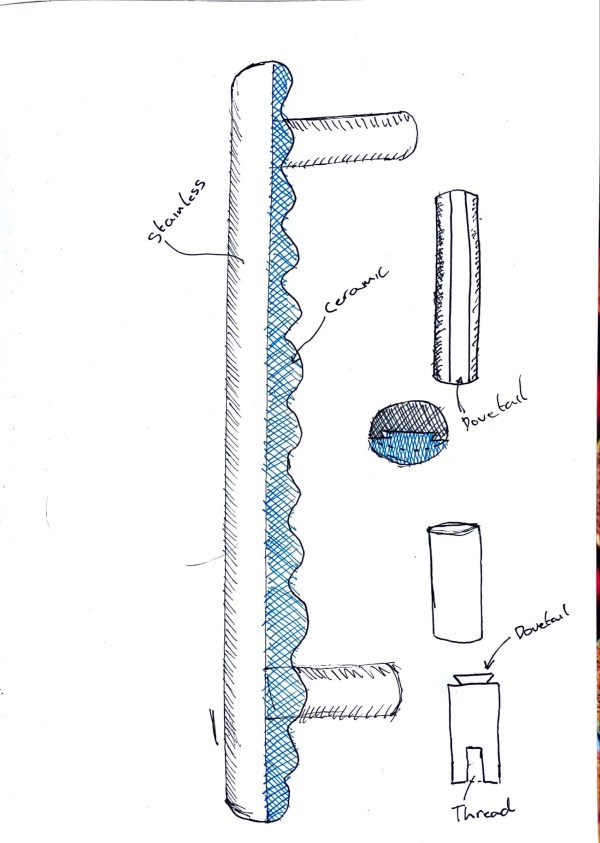
Initial sketches/ideas to the handle
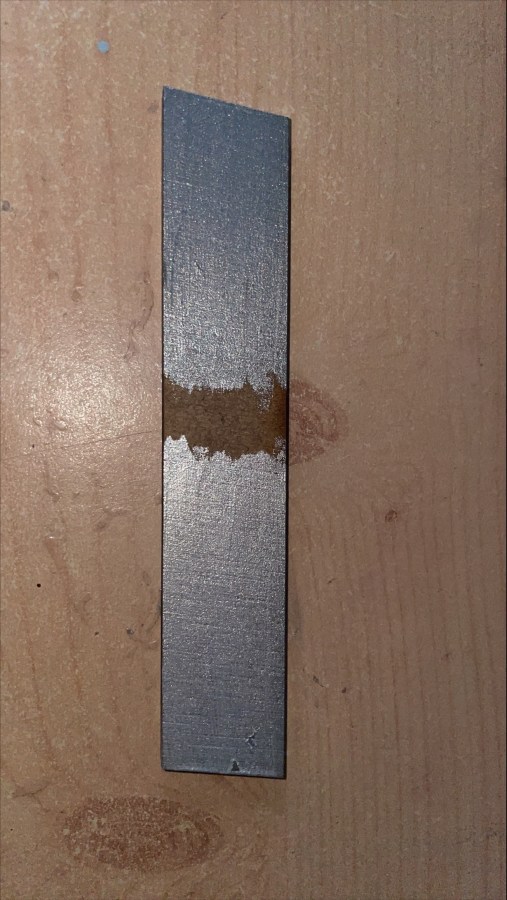
inserting a skeleton frame to the door handle and cover with steel strip. Getting inspiration from the facade of the station by Nok
Collage of the initial idea
In response to the artist Ruth Claxton. Covering with the special texture by Alice
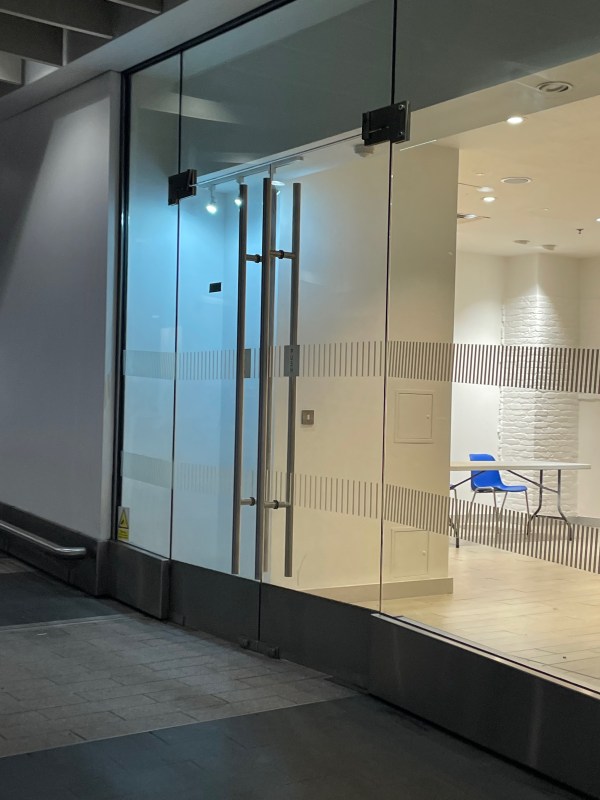
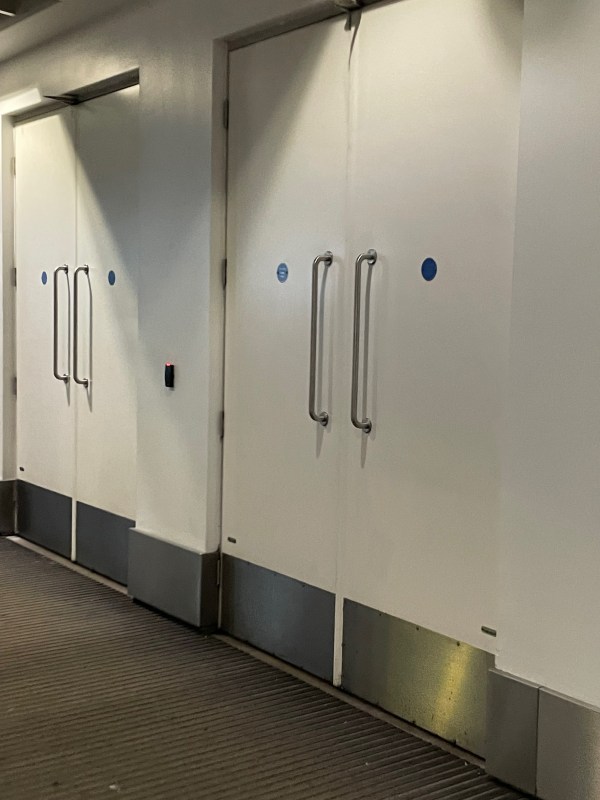
Initial thought to the site
Within our Design we want to make a defined push plate and pull handle because in new street station the doors don’t differentiate between the two, we wanted to create a clearer means of reading a door, so a push place is clearly a push and a pull handle is clearly a pull.We wanted to create something that is ergonomic for the hand, so the user is comfortable pulling the door handle open.
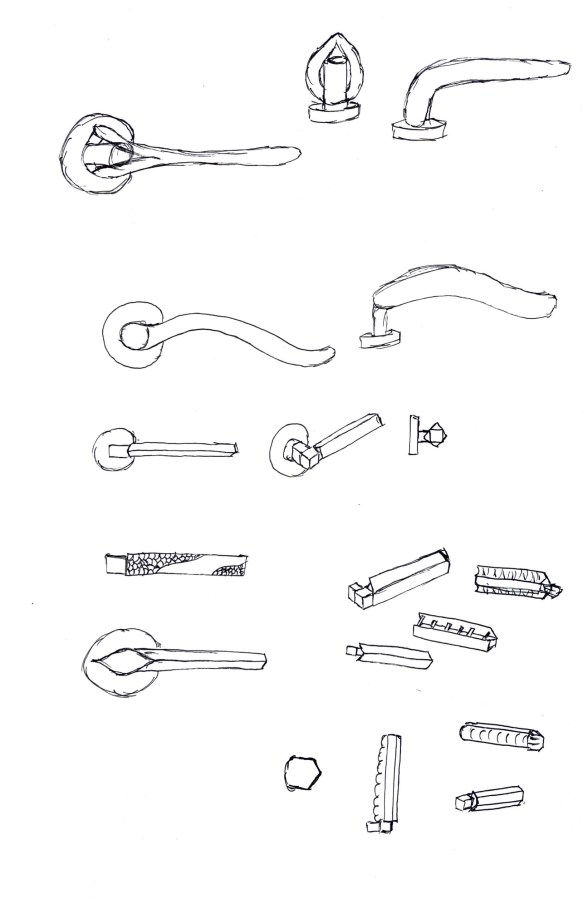
Second initial sketch
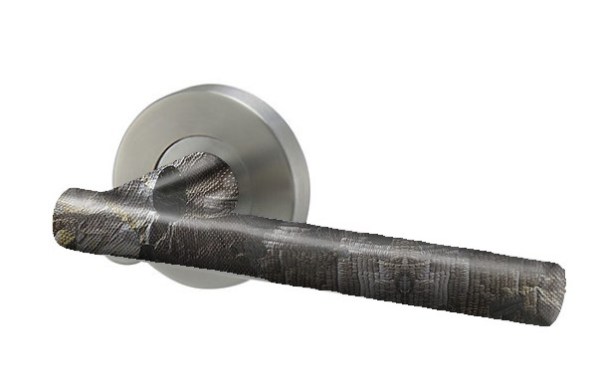
pull handle with figuring surface by Simon
We have chose Simon’s idea as the final idea
different door handle idea by Nokhexagon shape handle by Alice
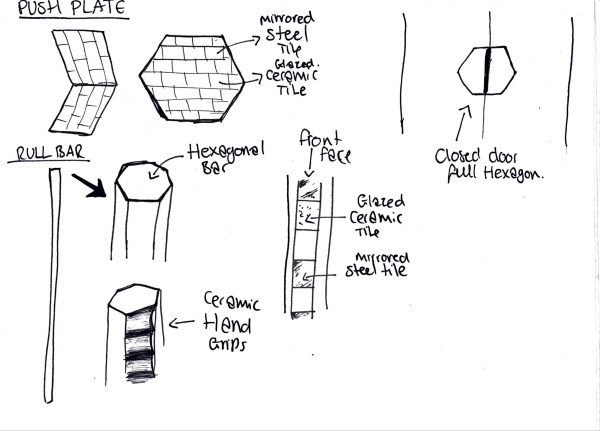
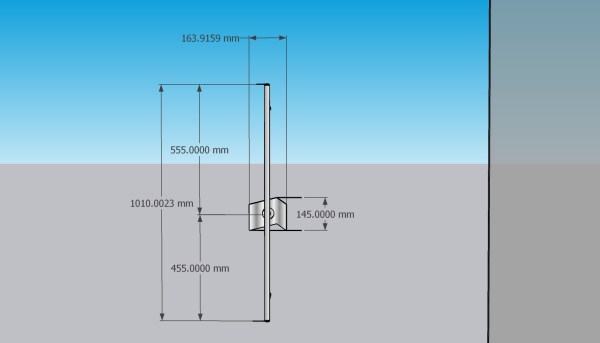
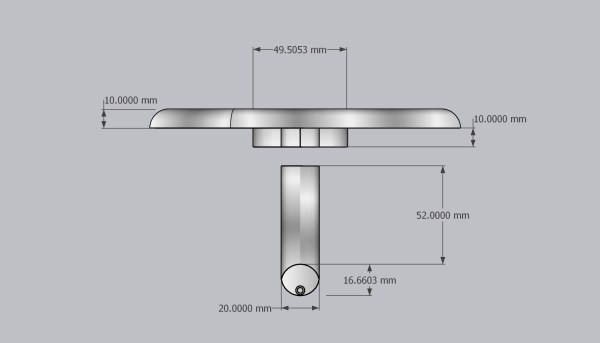
Detail drawing of the door handle idea
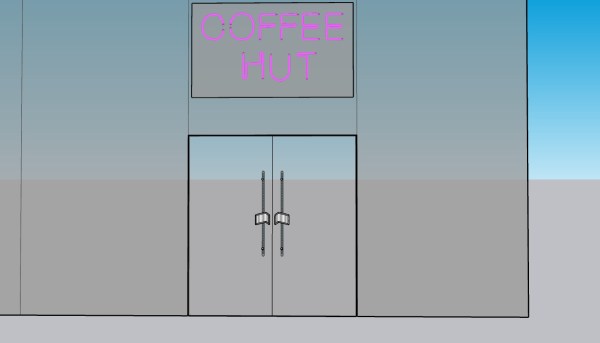
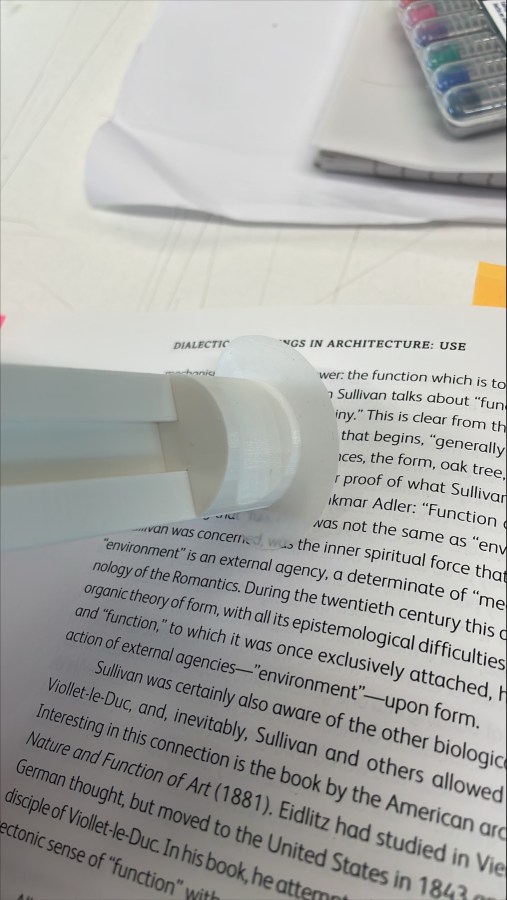
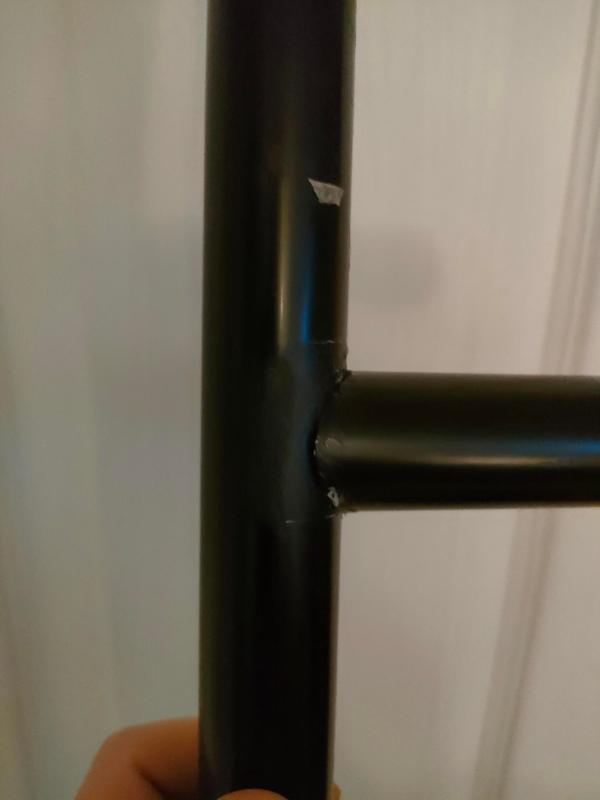
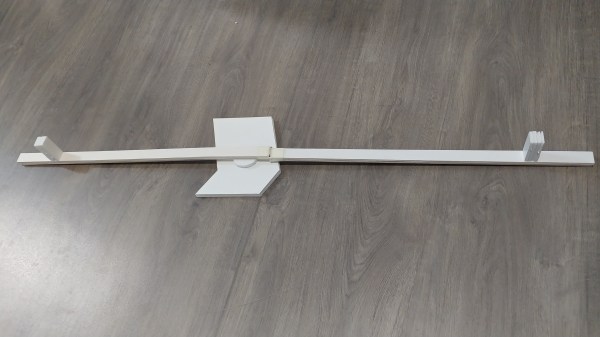
pull handle and push plate by Simondimension of the push plate by Simonsimulating handle being established on the shop door by Simon
material research (Kula, Daniel, Elodie Ternaux, and Quentin Hirsinger. Materiology: The Creative’s Guide to Materials and Technologies. Birkhauser, 2013. Print.)
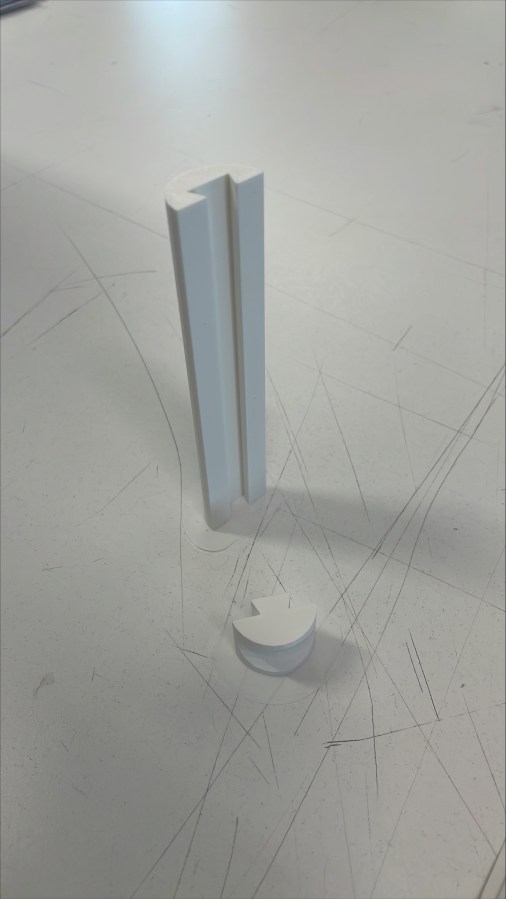
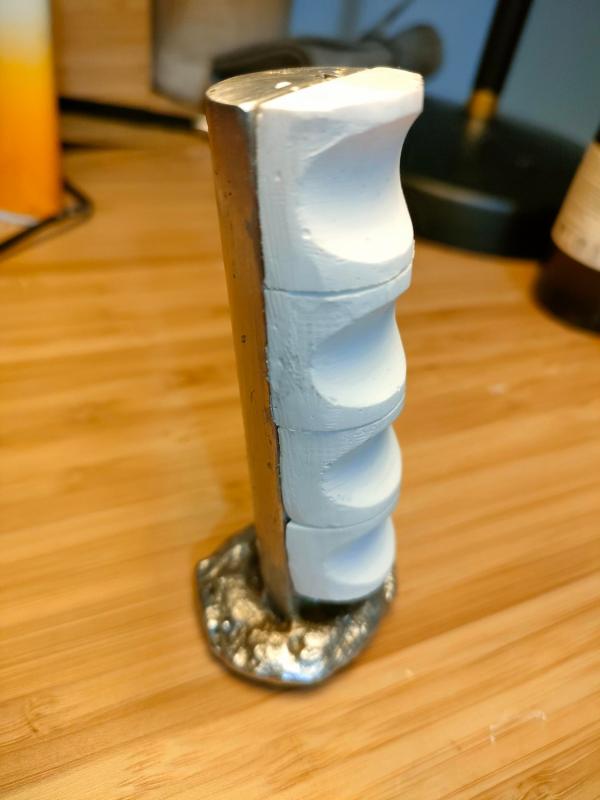
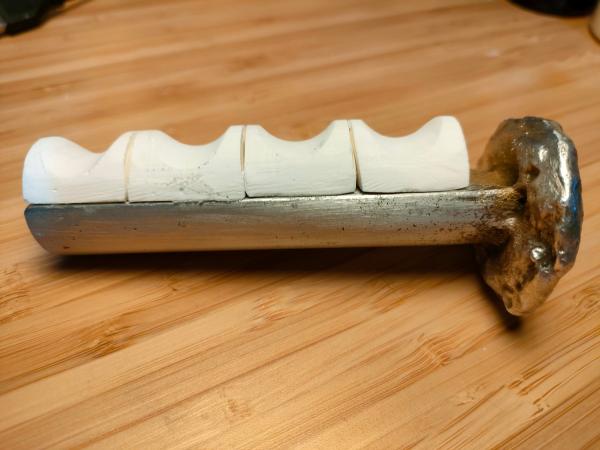
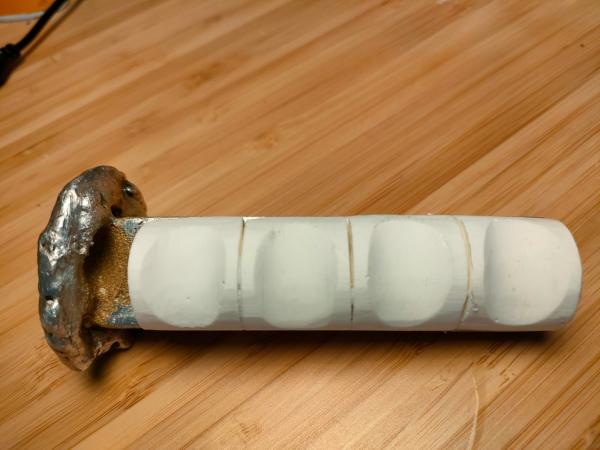
Working process – making dirty prototype
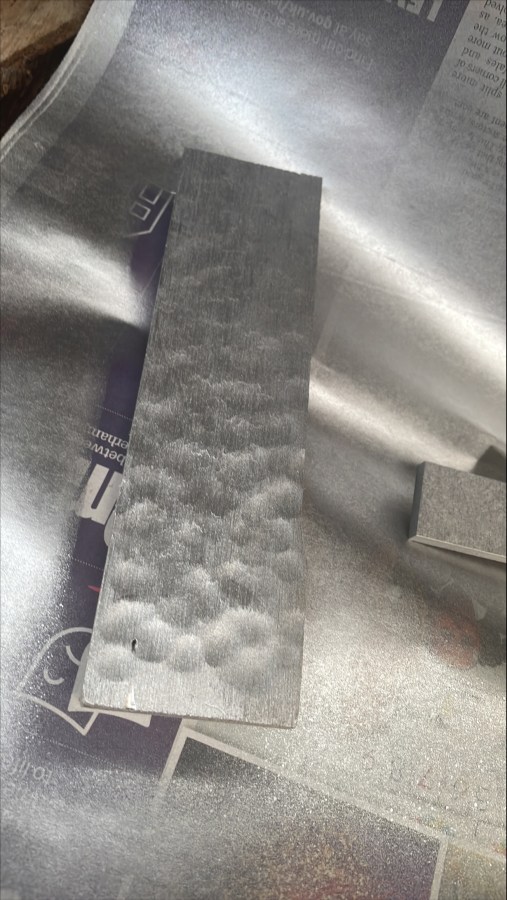
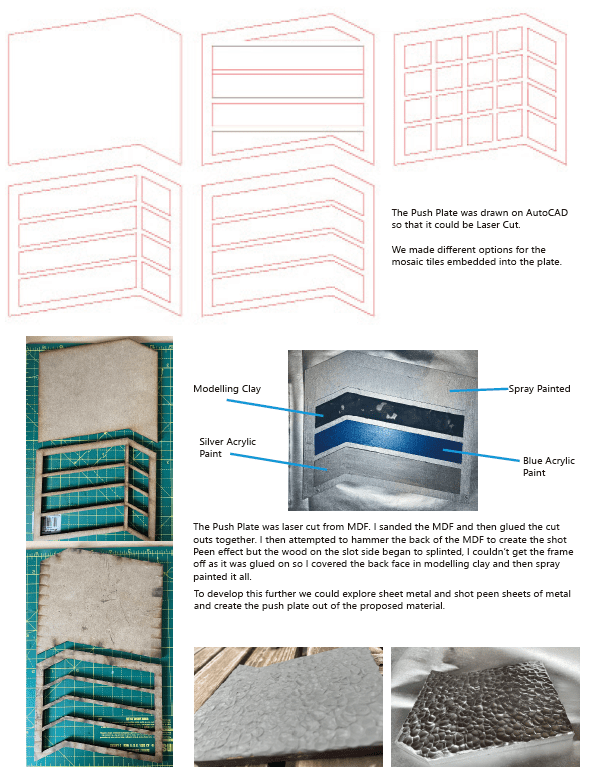
making the shape to slot in the ceramic by Aliceusing laser cutting to make the prototype by Alice hammering the timber plate to make the texture by Simon and Alicespray painting on the timber to make the steel surface by AliceCasting the push plate by SimonThe two prototype pull handle body by Simonfoam board prototype by NokScanned 1:1 drawing of the handle
Working towards the refined prototype
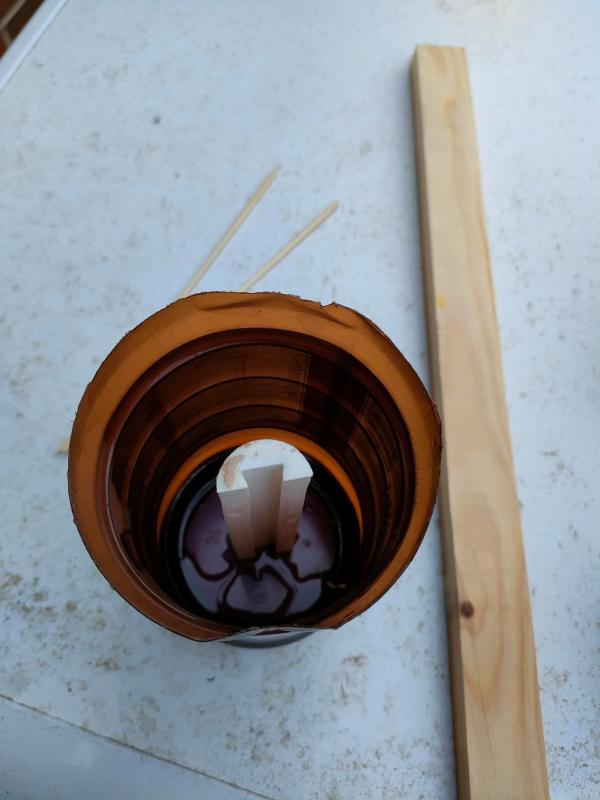
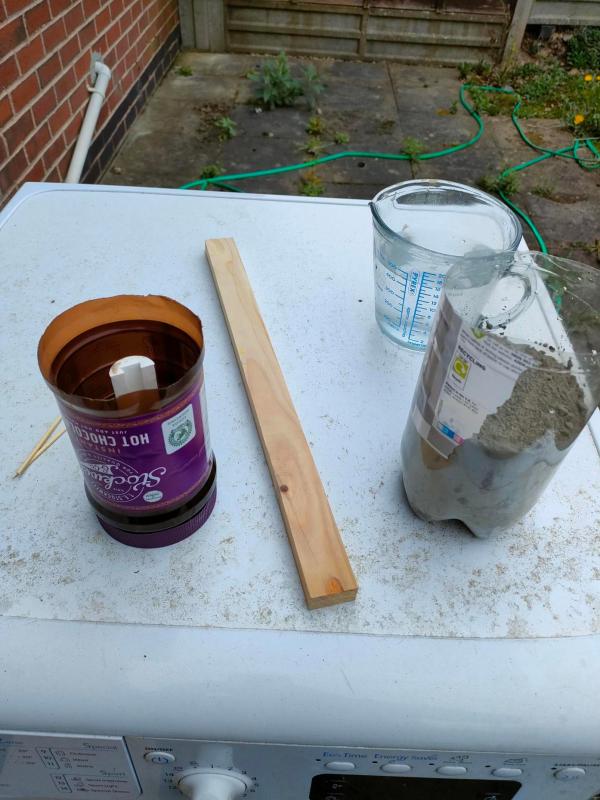
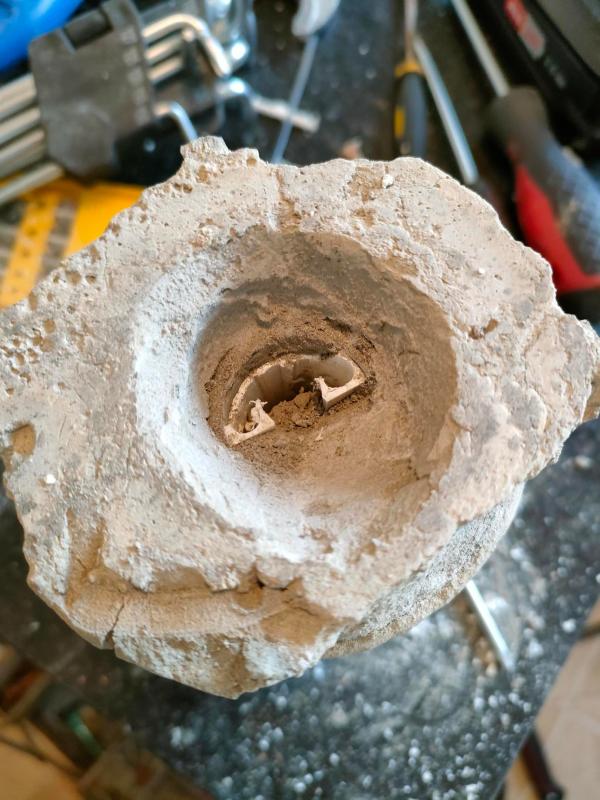
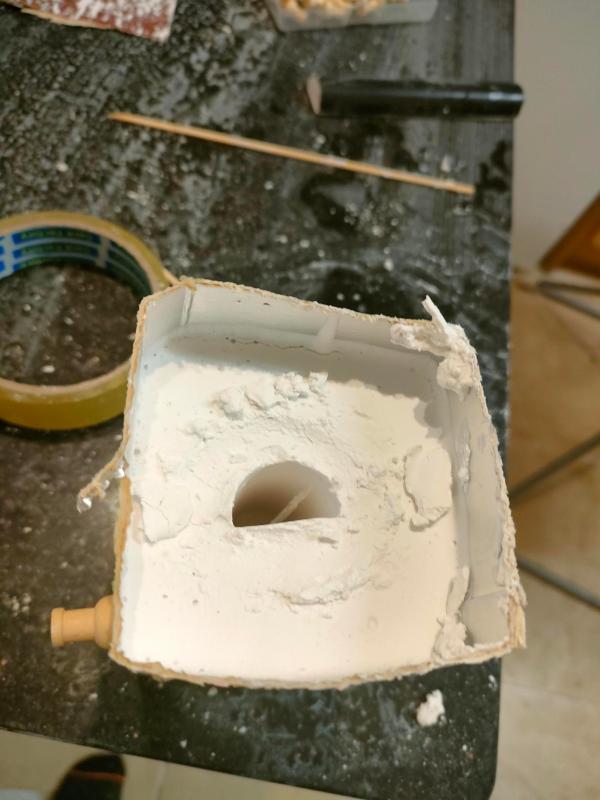
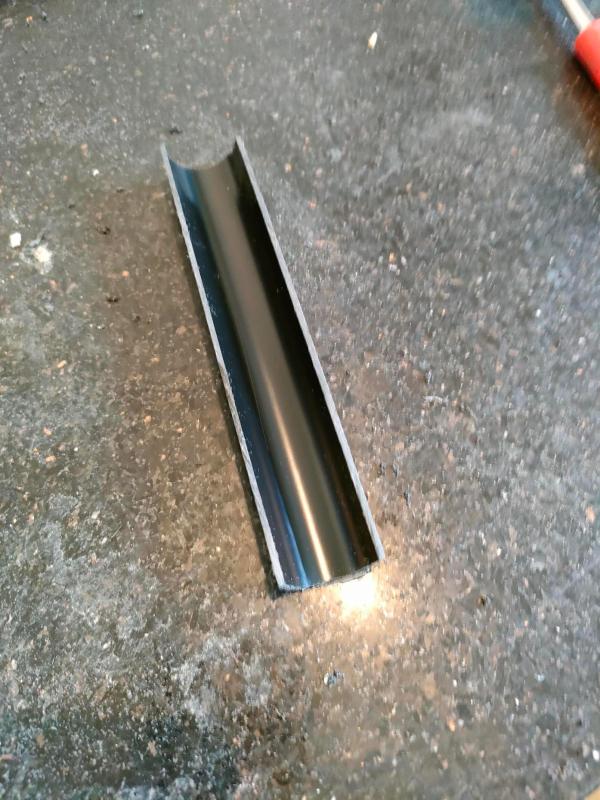
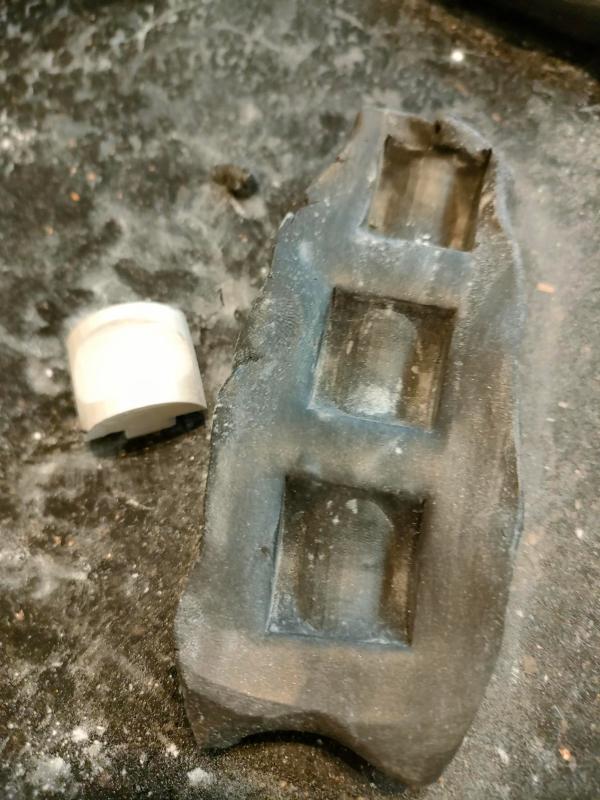
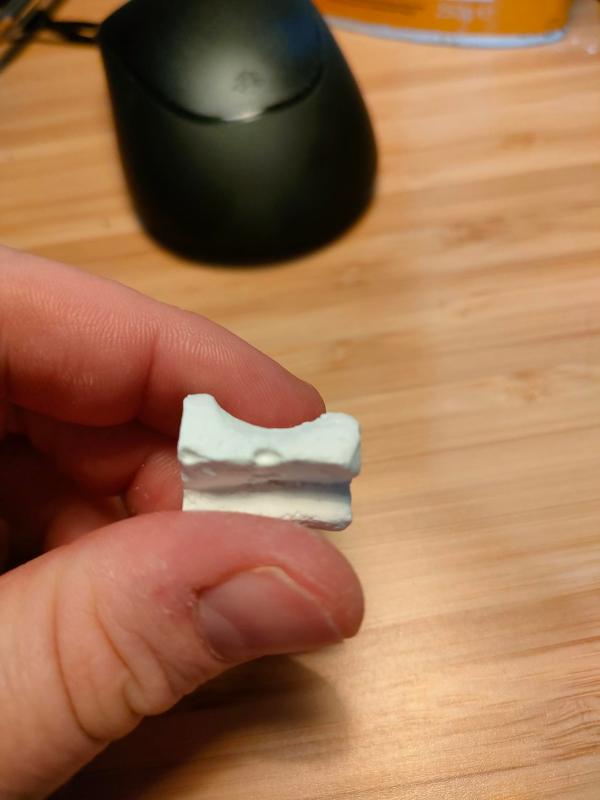
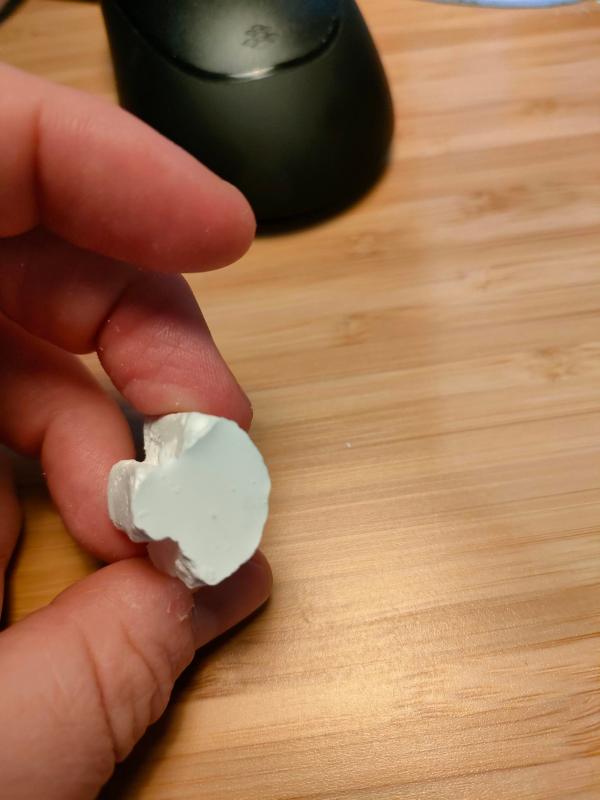
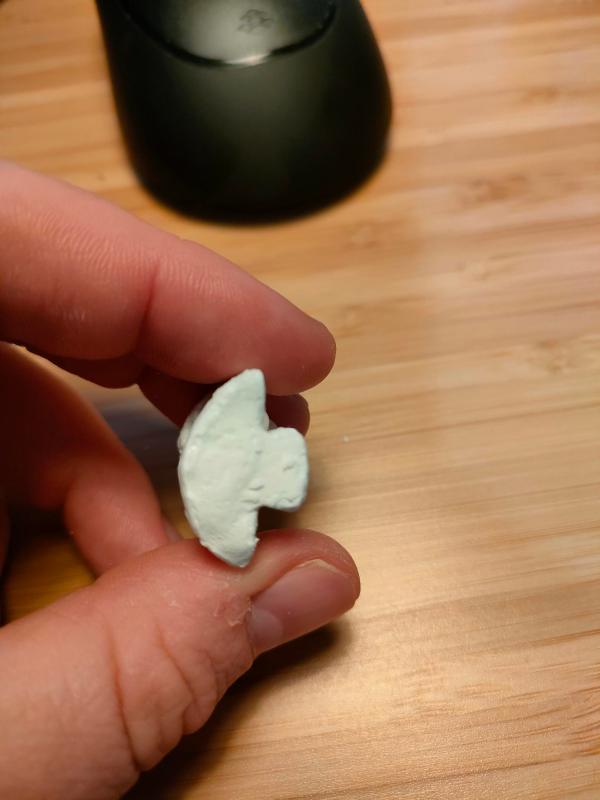
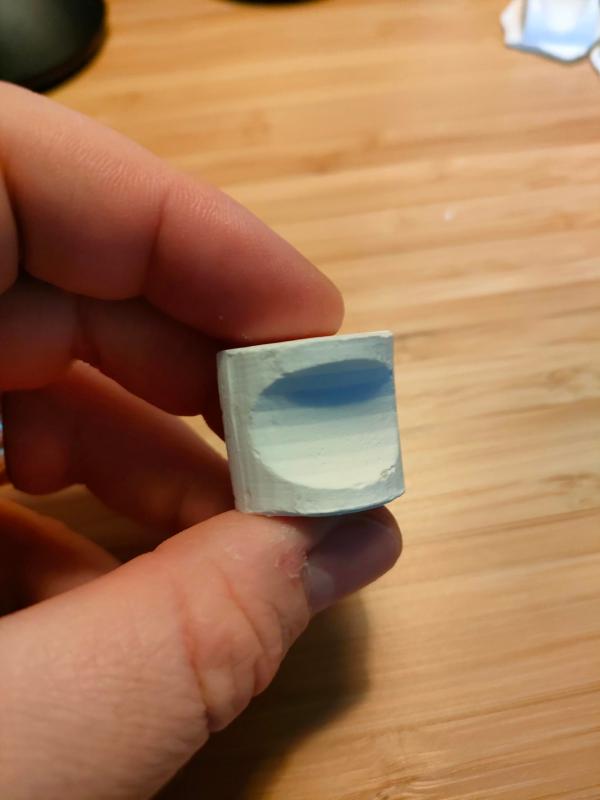
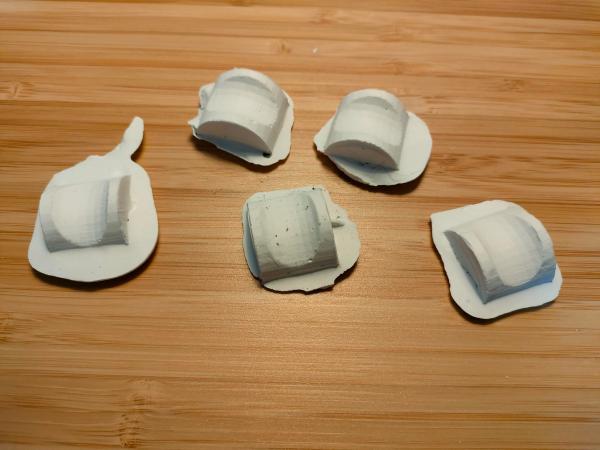
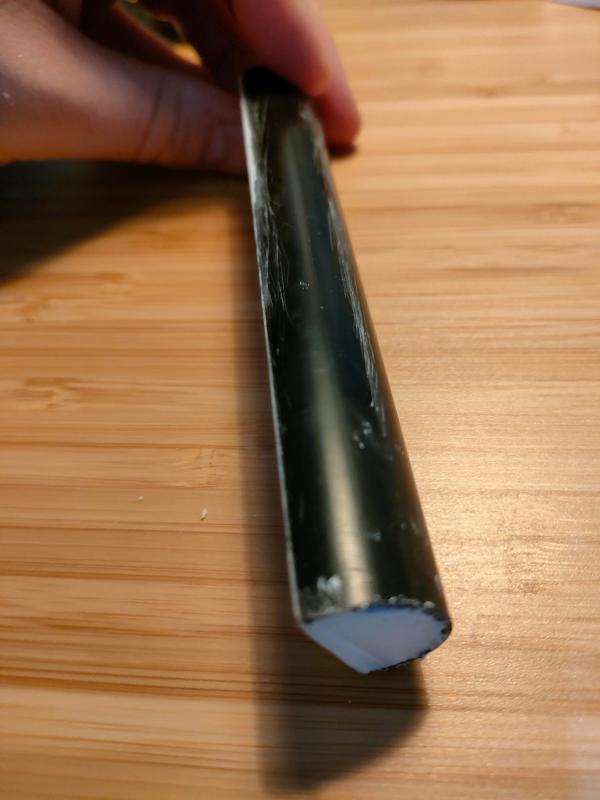
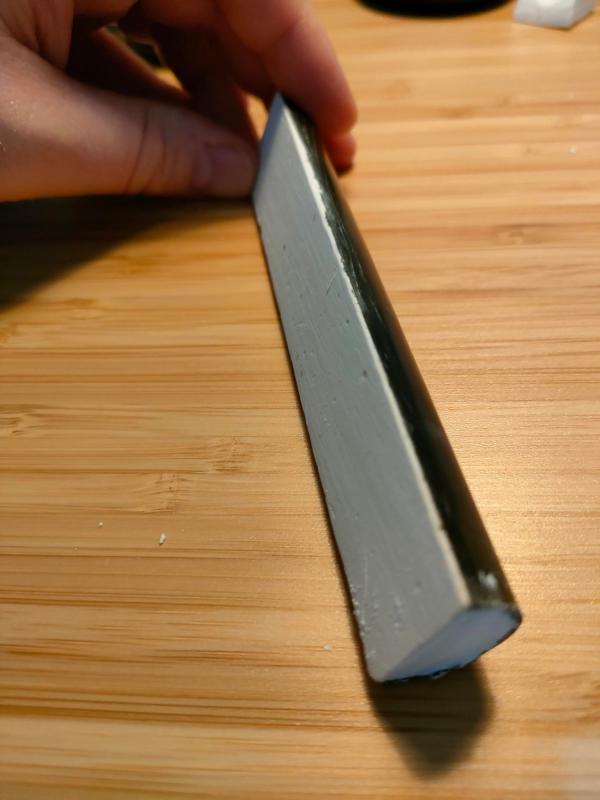
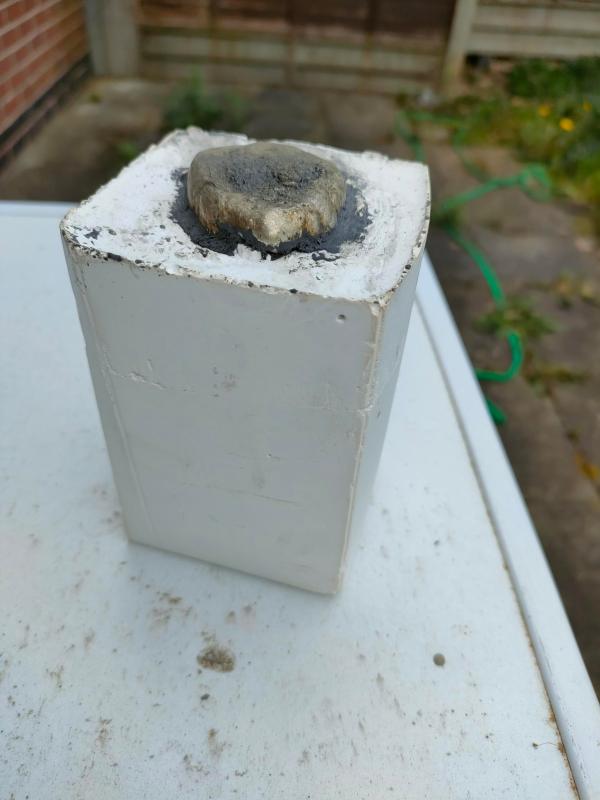
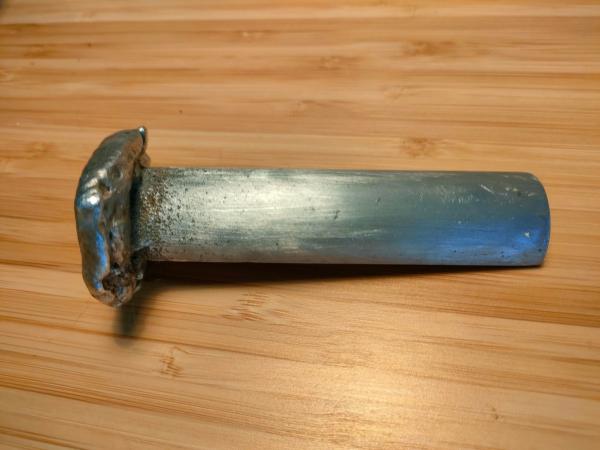
finished push plate surface by Alicecreating the mould by Simonkind of failed as the mould fell apartneeded to recast the mouldThis was our first attempt at creating a mould to cast our Pewter metal into. We glued the 3D printed model part into the lid of the tub, mixed up the cement and filled the pot with the liquid cement. This was allowed to cure, the plan was to remove the 3D printed part, however this presented significant issues. The model part couldn’t be removed from The cement, we tried to remove the part by tapping it out with a hammer and a flat screwdriver. We were finding that the model part was snapping along where the 3D printer had built up the layers. We had to abandon this form as it was damaged and we wouldn’t have achieved a good cast from it. If we were to undertake this method of casting again we should cast it half and half down the length and then join the two together so form can be removed easier.the steel part by SimonWe used liquid latex to dipped onto the 3D printed chip and then poured plaster of paris into the latex mould, however the casting is very rough, it was very hard to get an accurate and high quality casting using this method, we decided to discard this approach and experiment with pressing the 3D printed “chip“ into some spare black modelling clay that was left over from a previous experiment. This yielded a much more usable piece and was quickly and easily replicable. by Simonby Simonaving rendered the 3D printed form for the pewter bar unusable, we had to think quickly about how to replicate a replacement. We decided to use a offcut of the 25mm black PVC piping filled with plaster to create the semicircular bar form needed to cast a new mould, the semicircular bar was wrapped tightly in clingfilm to allow for the easy removal from the subsequent casting. by Simonby SimonHaving successfully removed the semicircular bar the mould was allowed to cure for several days with a final heating in the oven on a very low heat to ensure no water remains in the mould as this could cause an explosion. I melted down 250g of pewter and some scrap that i had left from a previous batch. Once molten Borax was added to help remove any impurities. The metal was the cast into the Plaster of Paris mould.


You must be logged in to post a comment.