Test 1.
CNCing the autocad spirals was not without complications.
-The helix tool in autocad automatically recognises itself as a three dimensional Helix. Had to ensure the Z value was on Zero, further checked with the ‘Flatten’ command and then ‘Pedit’ so that it recognised it as a polyline. Although this made the file quite large with many vertices, resulting in the rough edges in the final result.
– Previously used the divide tools on intermediate lines of the circle to create the holes to be cut out. The CNC machine does not recognise the holes, the solution was to copy and snap circles to each of the 500 dots. The CNC machine will then be programmed to find the center. (This is on a different layer as the cut tool.
-The oval test initially did not cut through because the file had become corrupted, the solution was to copy and paste all the information onto a new sheet and save.
-So many holes took along time, and the drill bit broke on hole 125 from 500, it is unsure whether this is a result of the drilling action.
-The initial drawing had left 10mm between each circle/spiral. The issue is that the drill bit was not taken into account and so this width had to be doubled.
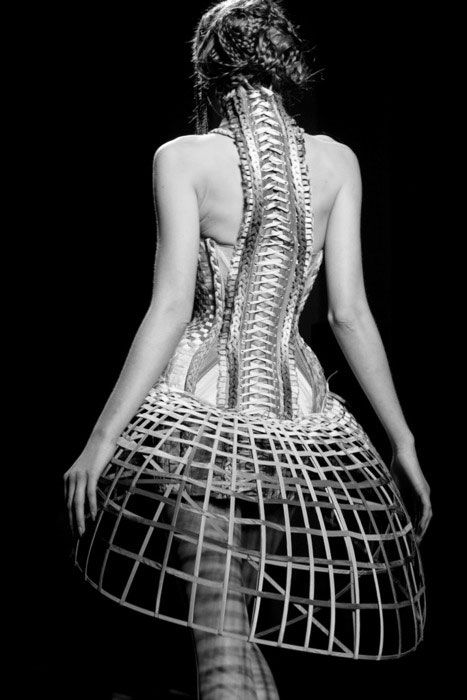
Images below show the results which will have to be sanded down. The next test is to thread between the oval rings to see how that will work, but principally take the spiral further by drilling holes in the spiral, to give some support laterally, and bracing similiar to Gautier’s Warrior dress. The discussion was whether the string should brace diagonally or straight. The size of the spiral could be reduced (as it is rather large!), but it has been changed from a just a skirt to a full body outfit/decoration.
After the tutorial, I met with the fashion students who suggested buckles or a way to wear the spiral like a dress. They were keen to aid me through its design.
")
")
")
")
")
")

You must be logged in to post a comment.